| Author |
Message |
|
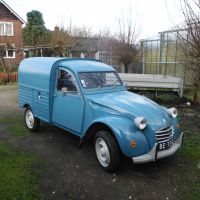
dave 411
Firing on two.
Joined: August 19th, 2010, 10:44 pm
Posts: 1815
Location: Cardiff

|
 Re: 1976 AZU250 Nice one Smiffy,just cant find any enthusiasm at the moment.Must really get stuck into finishing mine.
_________________
[img]http://i1207.photobucket.com/albums/bb480/alastairsmith999/dave411-5.png[/im
g]Horizontally Opposed
|
| January 13th, 2014, 3:04 pm |
 
|
|
|
Smiffy
Firing on two.
Joined: October 23rd, 2009, 10:41 pm
Posts: 2356
Location: Worcestershire
|
Re: 1976 AZU250 Smiffy wrote: Set up the new bonnet hinge, ready for welding next time. Currently chewing over the welding job to come. Bothered about the unforgiving nature of having to butt-weld the piece all around, so have left myself an overlap all along the top, so that the new section can slot under the existing piece. Leaves me with this question: what's the best way to achieve a good strong weld along the top? Drill little holes in the existing piece and then pool weld into the holes (to make kind of spot welds)? Or would I be better off just welding along the seam? Or should I do both? Ideas from experts would be welcomed! Also, what's the best way to protect the wires that are currently fed from the dash, through the channels at each side of the windscreen, up and over the front doors? On the rhs of the vehicle I can push the single wire up the channel and out of the way, but on the lhs there are too many wires, all taped together. Am I going to have to sacrifice these? What have others done in this situation? Thanks.
_________________

|
| January 14th, 2014, 3:45 pm |
|
|
|
Gas Mark 5
Firing on two.
Joined: January 5th, 2010, 8:30 pm
Posts: 240
|
Re: 1976 AZU250 Regarding the wires, I just pulled them all out. They were a bit of a pain to feed back through, I found the easiest method was to feed through a piece of copper wire from solid core household mains wiring, and when that was through tape the wires to the end and tug them through. Others may have better ideas though. I don't know what would be the best way of welding the overlap, but butt welding it isn't that bad as long as you do the preparation first. Ensure the metal is completely clean, and there is absolutely no gap between the parts, then the welding is a doddle. It just takes a lot of time to get the preparation right, and self restraint to leave the metal to cool in between sections. Overlapping the pieces would be more forgiving, but I wouldn't know how to get a nice smooth curve without using filler and I can't for the life of me apply filler neatly 
_________________

"In the beginning the Universe was created. This has made a lot of people very angry and has been widely regarded as a bad move." - Douglas Adams
|
| January 14th, 2014, 4:32 pm |
|
|
|
Geert
Firing on two.
Joined: July 10th, 2010, 12:35 pm
Posts: 1174
Location: Magyarország
|
Re: 1976 AZU250 As Gas Mark 5 pointed out : Remove the wires, I removed them and replaced them after welding and painting with a nylon cord, copperwire is also oké. Most of the welding I did was spotwelding. I have a pair of pleiers which make small holes in the metal , but you can do it by drilling holes. Make sure that the metal is clean !!! and that there is absolutely no gap between the parts !!!!!! So in short : GAS MARK 5 is correct in his explanation! If you still have doubts, come to Venlo and i will show you how to do it !  Use copper pipes that you flatten with a hammer , underneath to get rid of the heat so you won't burn a hole in the metal. My missus is pushing....... we need to go shopping ( again) ......
_________________
'T is een kwestie van geduld.........
Ez a türelem kérdése.........
|
| January 14th, 2014, 5:36 pm |
|
|
|
Smiffy
Firing on two.
Joined: October 23rd, 2009, 10:41 pm
Posts: 2356
Location: Worcestershire
|
Re: 1976 AZU250 Bit the bullet today. Cut the bonnet hinge to exact size and butt-welded it in place. Took my time - worked out OK if I say so myself: 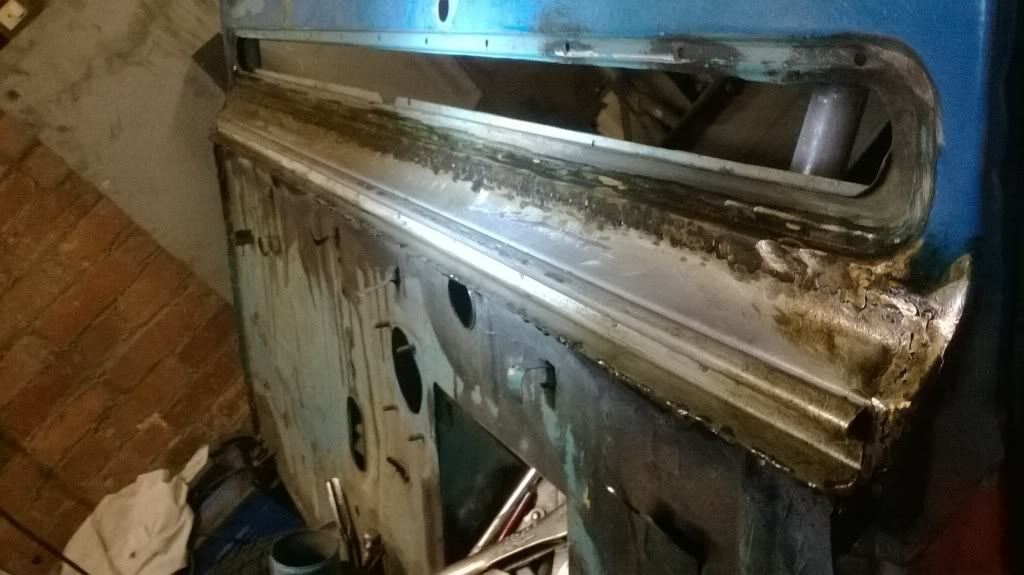 The welds need a bit more dressing to make them smooth, but that can wait till next time.
_________________
|
| January 27th, 2014, 12:33 am |
|
|
|
Geert
Firing on two.
Joined: July 10th, 2010, 12:35 pm
Posts: 1174
Location: Magyarország
|
Re: 1976 AZU250 Nice job !
_________________
'T is een kwestie van geduld.........
Ez a türelem kérdése.........
|
| January 27th, 2014, 8:31 am |
|
|
|
Vasil Ami
Firing on two.
Joined: December 6th, 2013, 9:55 pm
Posts: 115
|
Re: 1976 AZU250 It allready looks nice and neat 
|
| January 27th, 2014, 9:44 pm |
|
|
|
Smiffy
Firing on two.
Joined: October 23rd, 2009, 10:41 pm
Posts: 2356
Location: Worcestershire
|
Re: 1976 AZU250 Thanks for your kind words gents.
Have just this evening managed to source a guy who will make me a small area of ribbed flooring to match the original van floor so that I can do an invisible (or at least discreet) patch in the only place where it is rotten. Relieved!
_________________
|
| January 28th, 2014, 12:03 am |
|
|
|
Geert
Firing on two.
Joined: July 10th, 2010, 12:35 pm
Posts: 1174
Location: Magyarország
|
Re: 1976 AZU250 Smiffy wrote: Have just this evening managed to source a guy who will make me a small area of ribbed flooring to match the original van floor so that I can do an invisible (or at least discreet) patch in the only place where it is rotten. Relieved! That is great ! I found it very hard to find someone to make a matching floor for my van and ordering a floor from Janez was too expensive in shipping . But next time i will order from Janez, because the ribbed floor I got was slightly differend than the original floor, which makes it quite difficult to have a proper fit. So I did not replace the whole floor , which was my initial plan , I only cut out some small pieces to patch the existing floor . Before you start cutting out pieces of your floor, try and fit the new part and see how the ribbes fit , small pieces are much easier to fit than large ones . Good luck !
_________________
'T is een kwestie van geduld.........
Ez a türelem kérdése.........
|
| January 28th, 2014, 10:27 am |
|
|
|
Smiffy
Firing on two.
Joined: October 23rd, 2009, 10:41 pm
Posts: 2356
Location: Worcestershire
|
Re: 1976 AZU250 Spent a bit of time dressing the welded bonnet hinge. 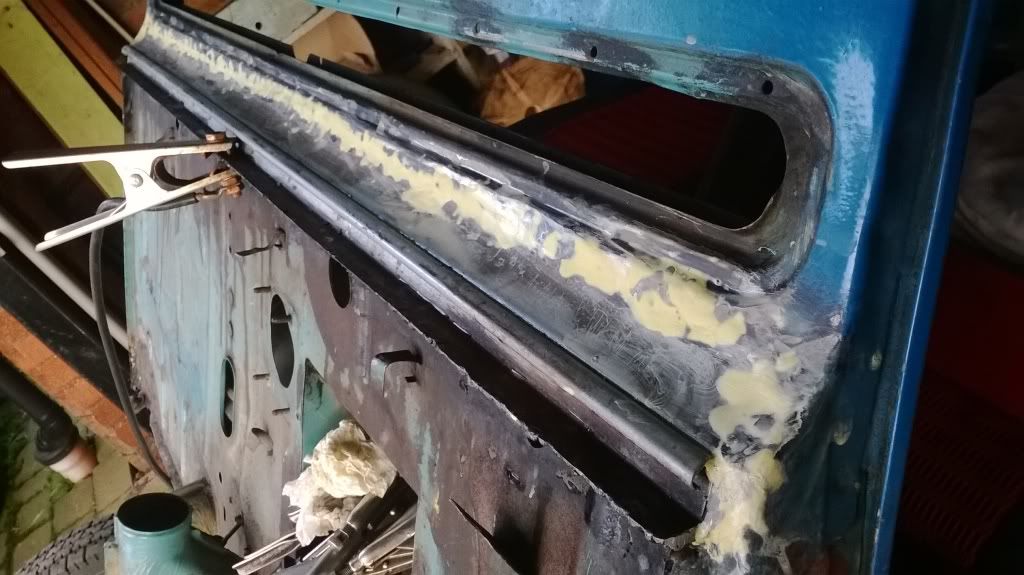 It was cold - the filler took ages to cure. So I set about cutting out the rotten bit of floor. 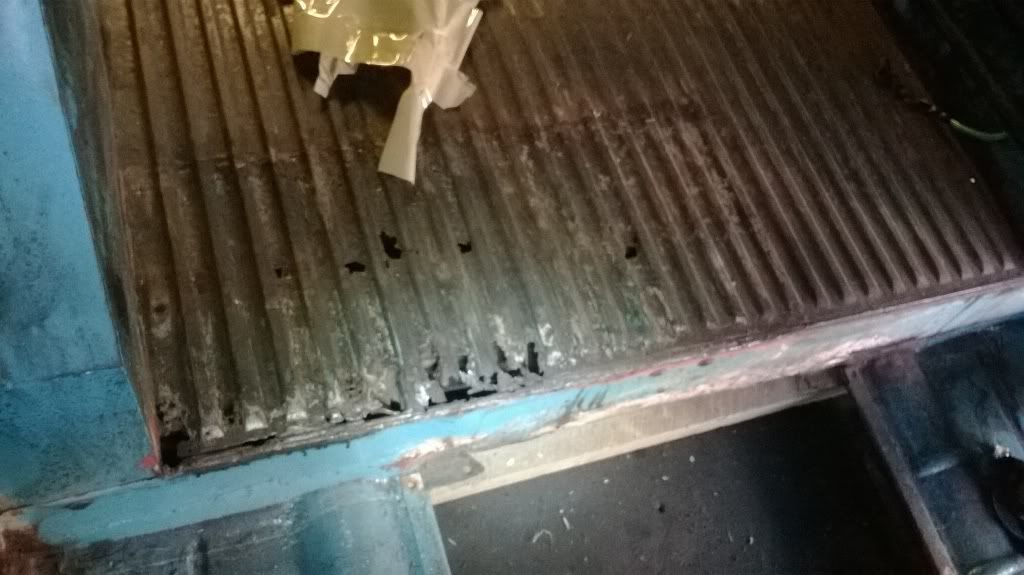 Quite a lot of cutting and careful drilling out of spot welds later: 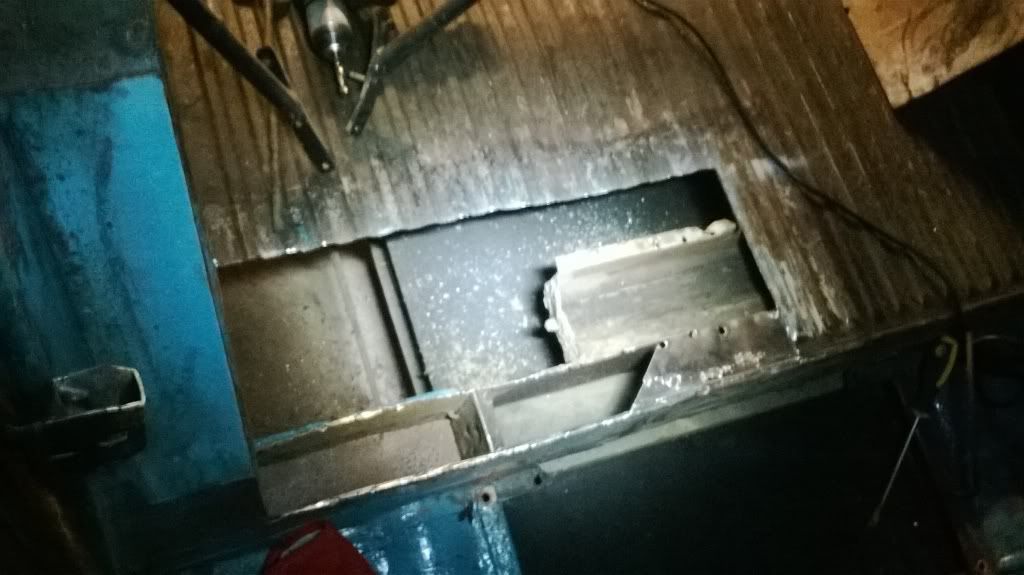 Now to get the patch made.
_________________
|
| February 3rd, 2014, 10:22 am |
|
|
Who is online |
Users browsing this forum: No registered users and 33 guests |
|
You cannot post new topics in this forum
You cannot reply to topics in this forum
You cannot edit your posts in this forum
You cannot delete your posts in this forum
You cannot post attachments in this forum
|
|