Ok, a couple of posts back I said that I wanted to attempt some two tone or rather two colour panels. I'd decided to try this technique firstly to see how it's done, and secondly to break up the monotony of a single colour car with just a splash of contrast.
The panels that I chose to try it on are the upper front wing quarters where I intended to paint the scalloped part in another colour. The colour chosen was the grey that I had used for the seat frames and other stuff, the name of which I gave in an earlier post. Now this entry is gonna be pretty picture heavy as I want to detail every stage, so here we go with the first one.

I had pondered how I was to successfully mask the grey part of the panel that I had previously painted because although masking tape is the obvious answer it isn't flexible enough to turn some of the curves that I had in these panels without kinking. Also the problem with masking tape is that it's textured, which means that paint can creep under its edge which is obviously not what I wanted. After a bit of browsing on ebay I found the solution, fine line tape.
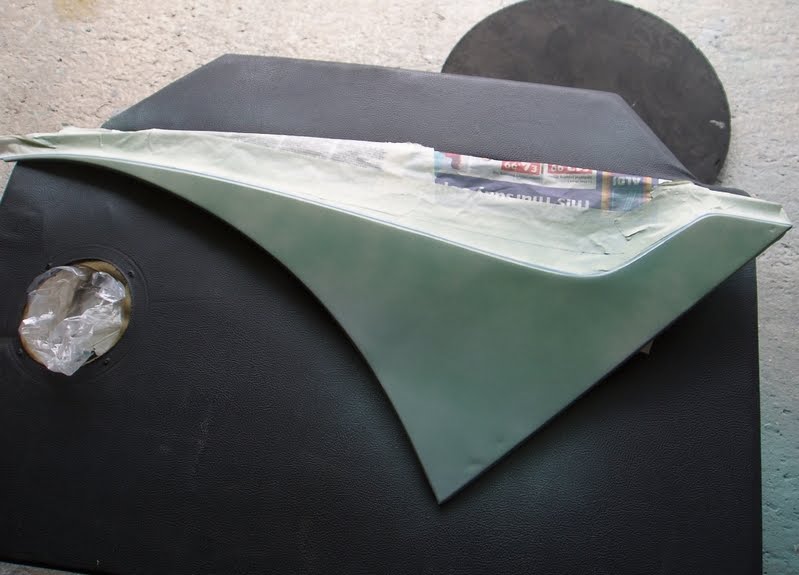
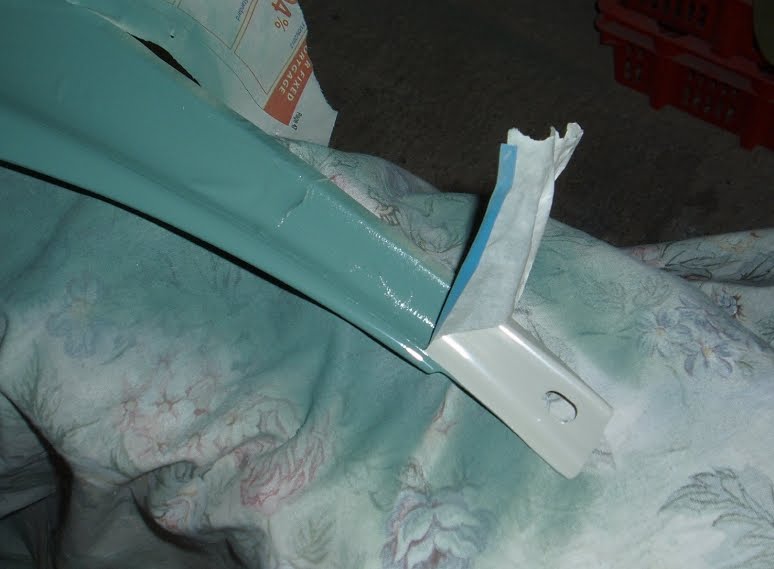
This stuff is a little like those stick on pinstripes that everyone used to put on their cars back in the 1970's and 80's, it follows a curve well, and it has a clean edge. Stage 1 then was to apply the tape exactly where I wanted the line dividing the colours to be. Once the line is established, normal masking tape is applied directly on to the lining tape, and the panel masked off as normal.
When looking at the photo above notice two things, firstly for the want of two minutes with body filler I have left a couple of dents in the panel, I did this on purpose as I'm not trying to create a trailer queen here, this car will be used and it didn't seem honest to load it up with filler in every small place there was a dimple. Note also that when I applied the blue lining tape I left a bit extra sticking out past the edge, that small strip will become very important later in the process.

As before a 'grip coat', or mist of paint was applied first to enable the subsequent coats to adhere without running (Below)
The same process was followed for the other side. Once painting proper began I was able to paint one side while the other side was drying, then return to the dry panel and add further coats while the last one that had been painted was drying.
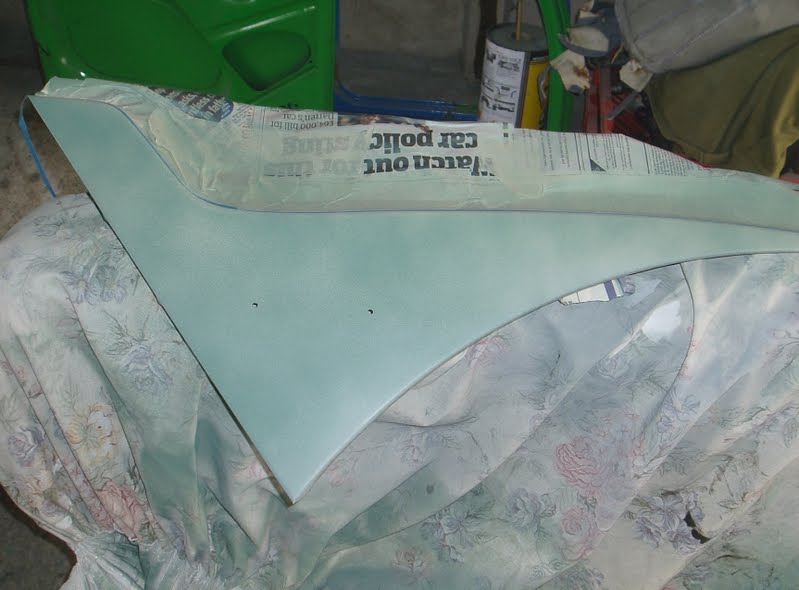
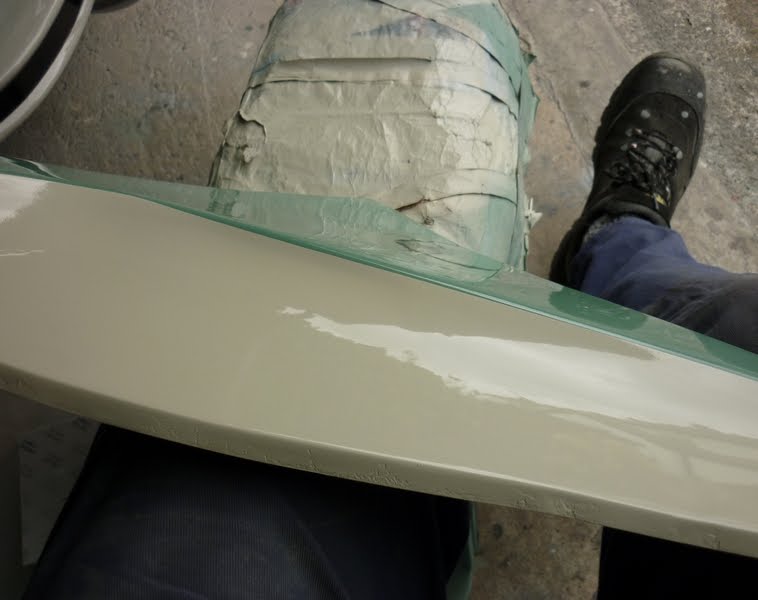
This was how the panel above looked after the topcoats had been applied....
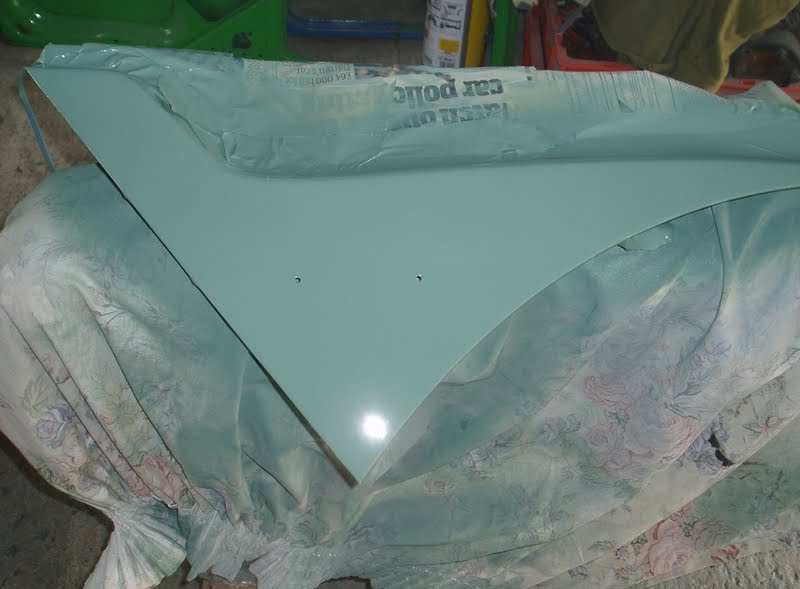
...and here's the other.


In the photo above you can see the two dents in the panel that I left unfilled, but the small crater like thing in the paint is a 'Fisheye', which means a tiny drop of some sort of contamination got on the surface as I sprayed and this is the result. The cure is to rub down the panel, degrease and start again, but I left it there it's not the end of the world.
Now remember that extra bit of tape that we left sticking out? Here's where it comes in handy!
The paint had only been on the panel for around ten minutes or less when I decided to remove the tape, any longer and the paint might have chipped as it was pulled of so I thought it best to do it with the paint still reasonably soft. This is definitely one of those 'make or break' moments, but it's no use dithering, just get it done and see what happens!
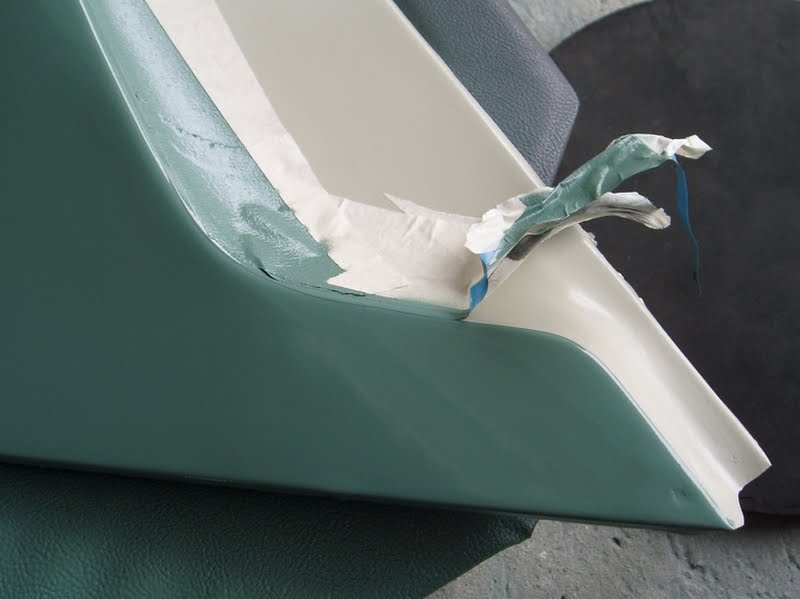
The photo below shows the panel with the tape removed (it all came off cleanly btw)
I've tried to zoom in a little here so that you can see the ridge in the paint which was left by the fine line tape, I didn't want any visible, or even feel-able ridges in the paint so the next step was a scary one but none the less had to be done.
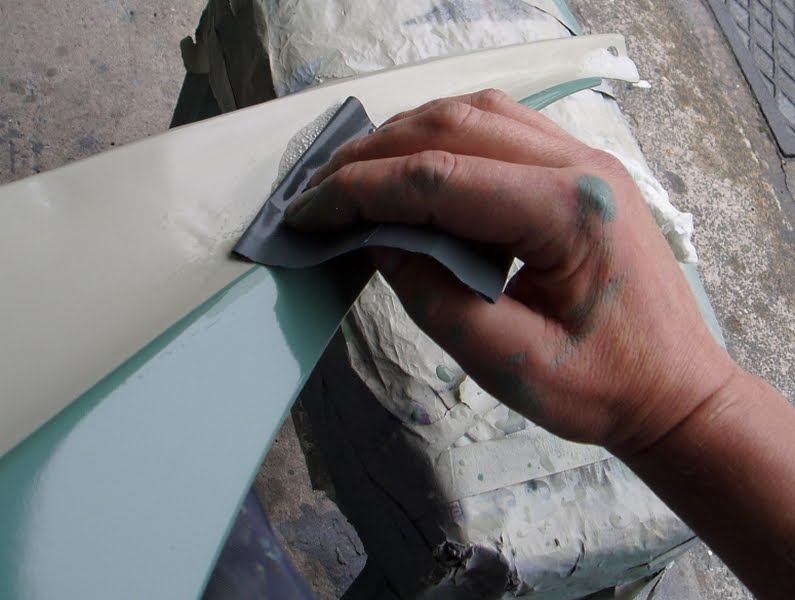
Using 1500 grade wet and dry and plenty of soapy water I gently rubbed out the ridge. This is very definitely not a task for the squeamish as the line was right on a panel edge, and any rubbing or abrasion will go through the paint especially quickly on an edge. I didn't press on hardly at all, using just the weight of my hand and letting the paper do the work.
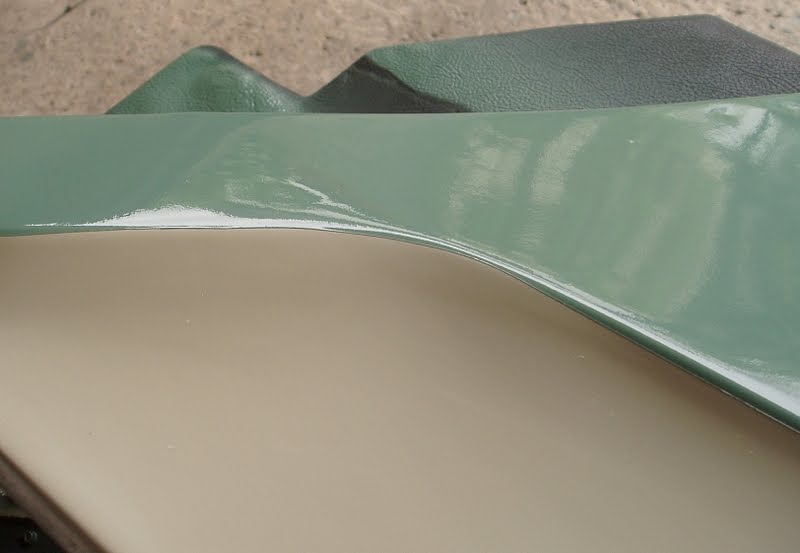
It worked! These two photo's show the panel after the flatting back of the ridge, there is now a totally smooth transition line. At this point I felt like strutting around the garage in my undies by way of celebration, pouting and punching the air like Mck Jagger....but instead I just rubbed the flatted area gently with Farecla G3 to bring back the shine.


Above and below: No ridge at the join of the two colours - Oh yes! - Who's the Daddy?


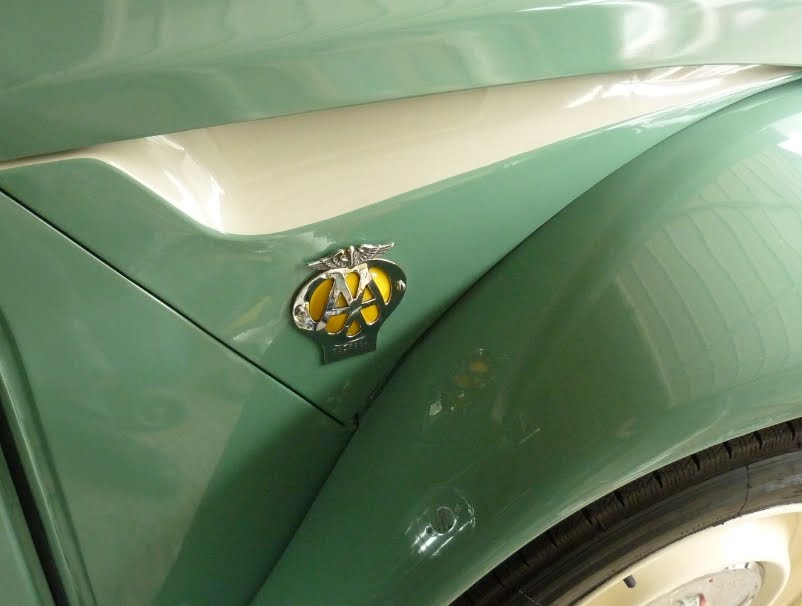
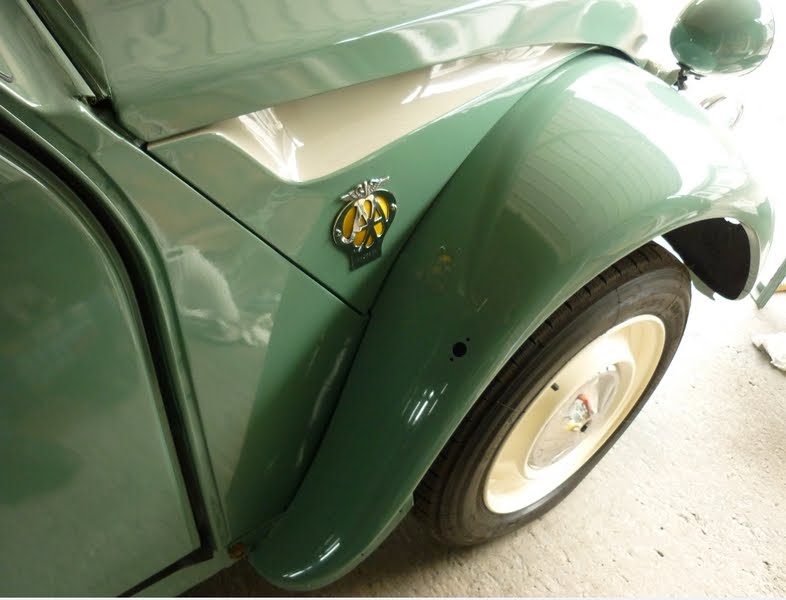
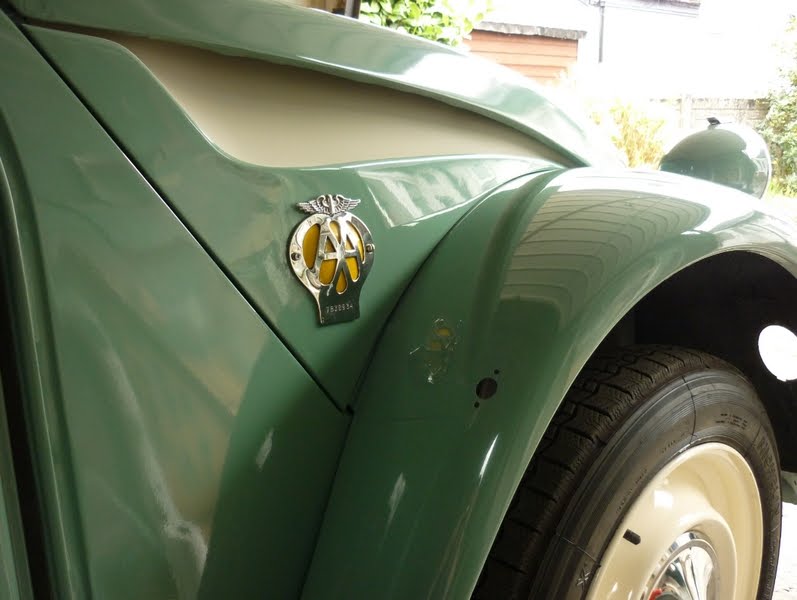
The final bit of the jigsaw went in next, although it's just a trial mock up as the fittings aren't attached to anything as yet. Now to test if anyone has been paying attention. Remember those two holes that I drilled in one of the wing quarter panels? Did you notice them in the photo's above? No? Pay attention at the back please! If you did notice them and wondered why I had made them then this is the moment you find out.
In keeping with the 'retro' theme of this build I had found myself an old AA badge of the type used in the 1960's, and there wasn't really anywhere to mount it up front so I went for a side mounted job. I chose to put it on the offside of the car so that it wouldn't tempt the local numpty's into pulling it off as they passed by on the pavement, so I've mounted it here temporarily for the photo's - Stylish No?